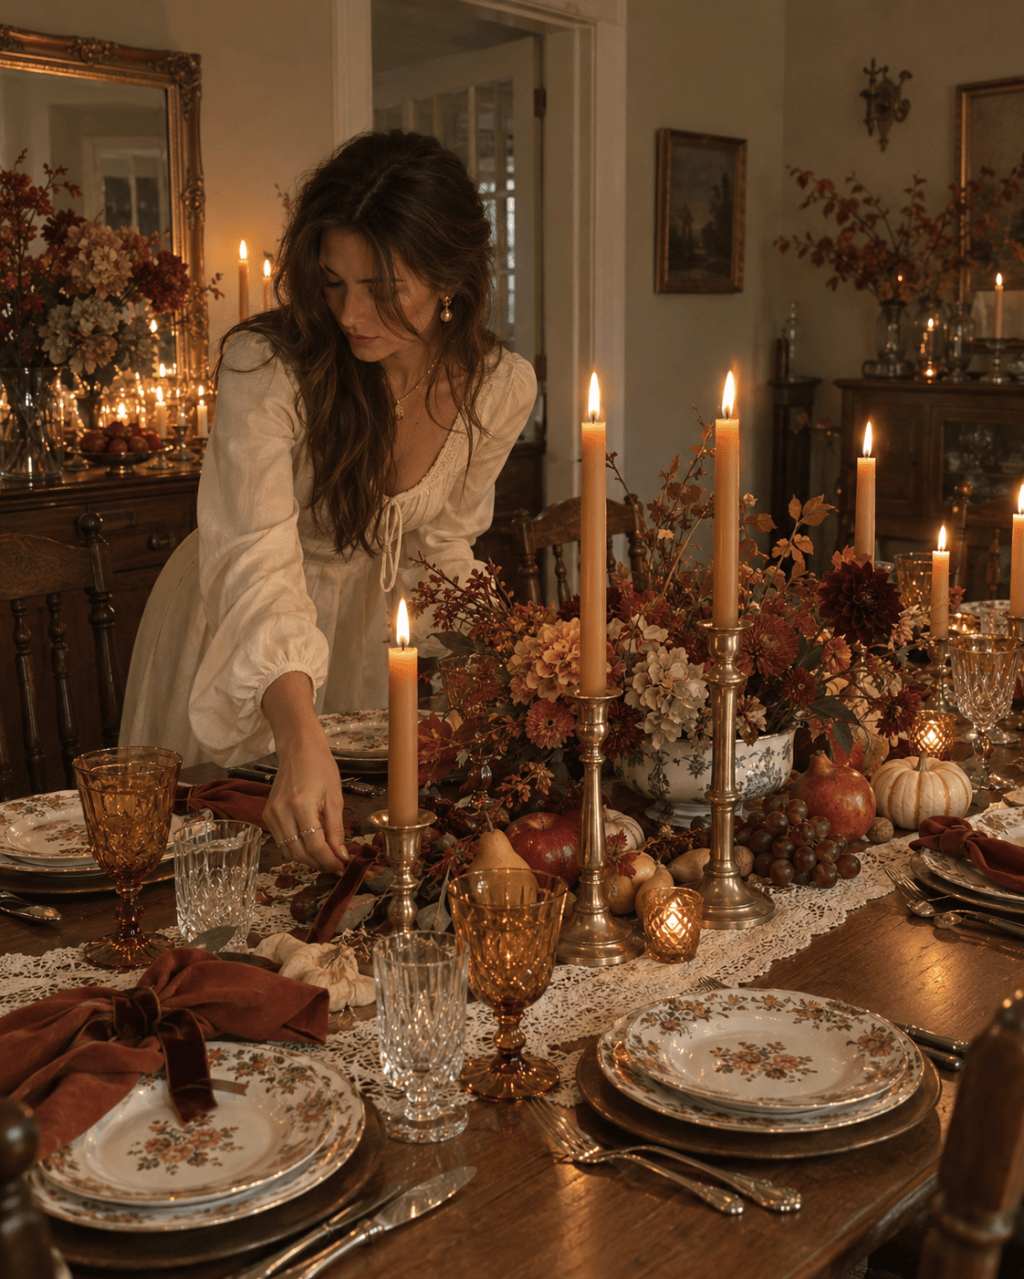
Thanksgiving is around the corner, and while there is still time to shop for all the ingredients on your menu, you can already start collecting ideas for the table.
I always think of the dining table as a blank canvas. Half of it will eventually be filled with food, but the rest gives you space to set the scene with fabrics, tableware, candles, flowers and smaller decorative details.
And that is the most fun part about tablescaping. You can experiment with height, texture, color and repetition, moving things around until the table feels balanced. It does not have to be perfect or overly styled.
Here is an easy guide with 6 steps to start with.
Step 1: Pick your color palette
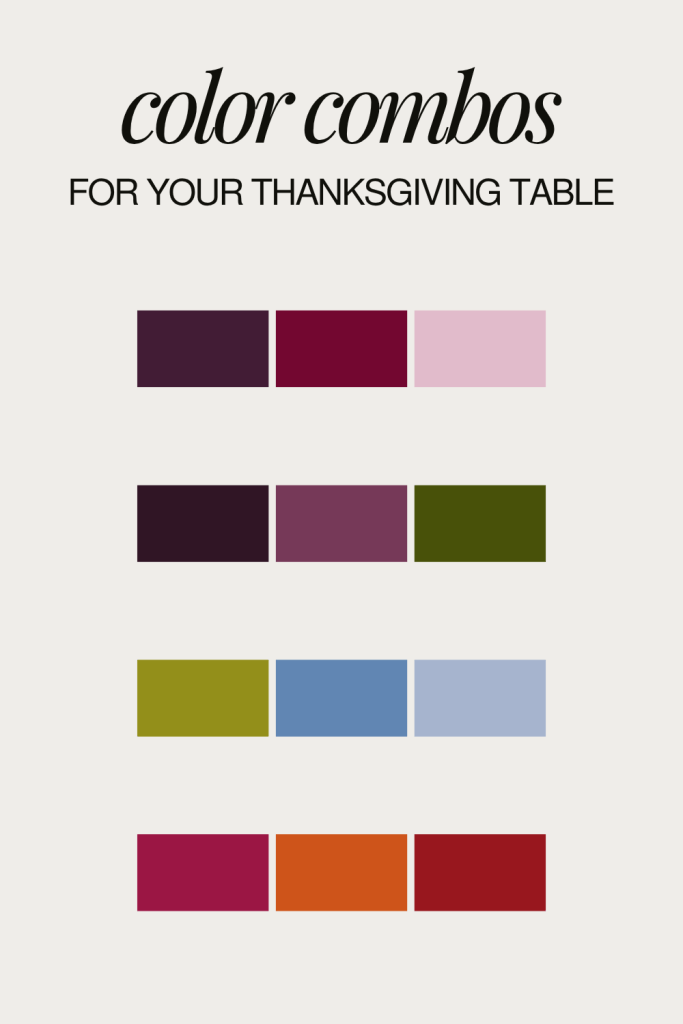
Before choosing anything else, decide on the colors you want to use throughout the table. Your palette sets the tone and makes all the other decisions a lot easier.
For Thanksgiving, there are so many directions you can take. You could stay quite traditional with burgundy, deep green, rust and brown, or create something lighter with cream, dusty pink, sage or pale yellow.
Focus on two main colors and then layer in neutrals, metallics and your porcelain.
You do not need every single item on the table to match. The palette is more of a loose formula that keeps everything connected. You might go for green and burgundy, then add cream linens, silver cutlery and dark red flowers. Or choose warm orange and brown with white plates and brass details.
Step 2: Set the theme with the cloth
Now that you know your palette, you can choose the fabric that will become the base of your table.
You can go all-in with a statement color, choose something patterned or keep things simple with a classic white or neutral linen. But you also do not have to stick to just one layer.
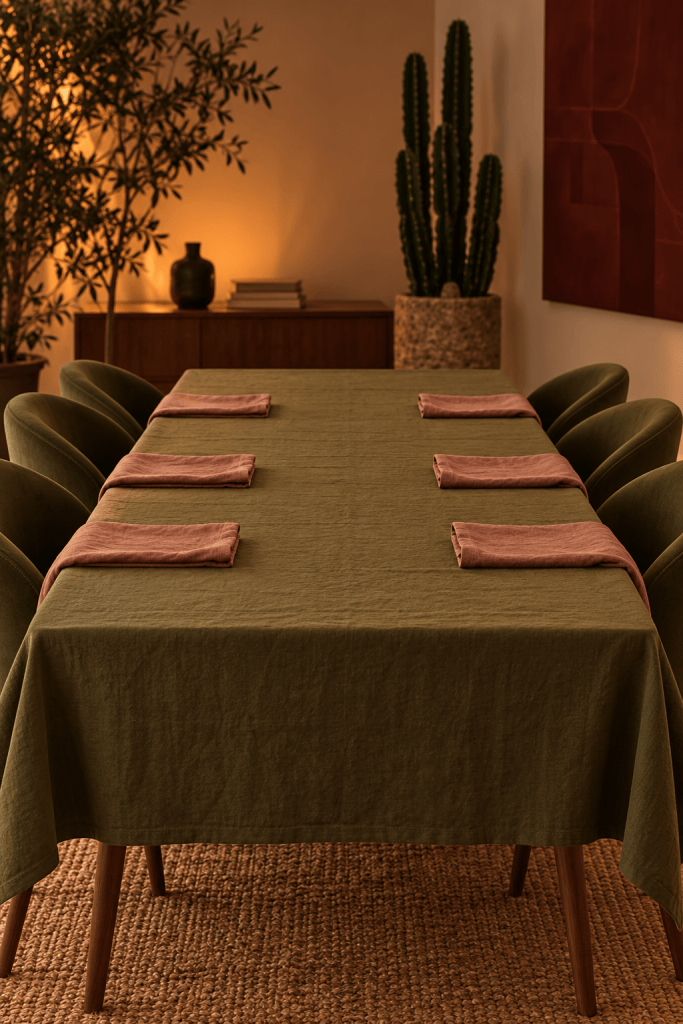
Layering fabrics adds a lot of depth to a table. You could use a full tablecloth underneath, add a runner through the center and then place individual linen napkins or fabric placemats at every seat.
The material matters too. Linen gives a slightly softer, more relaxed look, while heavier cottons or patterned fabrics can make the setting feel a little more traditional.
Use the palette you chose in step one as your guide. The cloth can either introduce one of your main colors or act as a neutral base for the rest of the table.
Step 3: Choose your tableware
Your tableware is the canvas for the food. I am a big fan of vintage tableware because it immediately gives a table a warmer, more collected feel. You can find beautiful plates, serving dishes, glasses and cutlery at flea markets, vintage stores and secondhand shops.
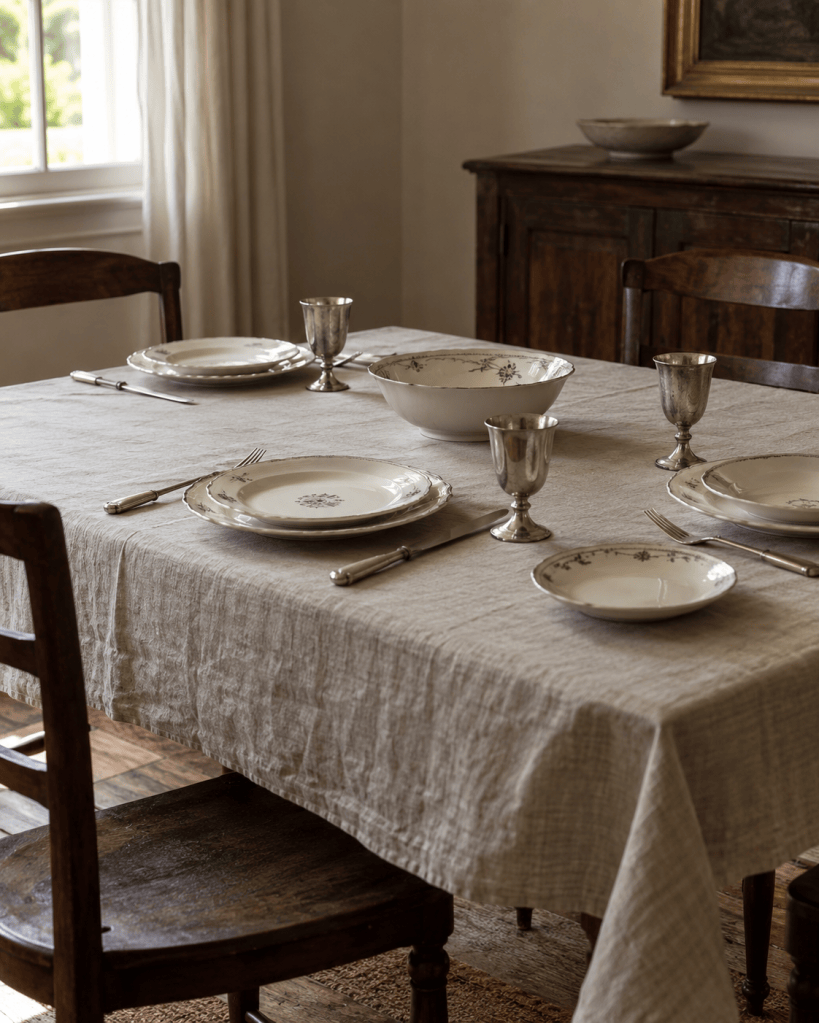
And they do not necessarily have to come from the same set. Mixing different plates with a similar color or pattern can look especially nice.
Modern tableware works just as well. If your plates are quite minimal, you can let the linens and decorations do more of the talking.
This is also the point where I would choose your metals. Silver can feel a little cooler and more classic, while brass or gold tones create more warmth. Candleholders, cutlery and small serving pieces are easy ways to bring that detail in.
Step 4: Start building the center of the table
Before adding lots of smaller decorations, think about what you want the center of the table to look like.
You could create one larger centerpiece or build something that runs all the way down the middle.
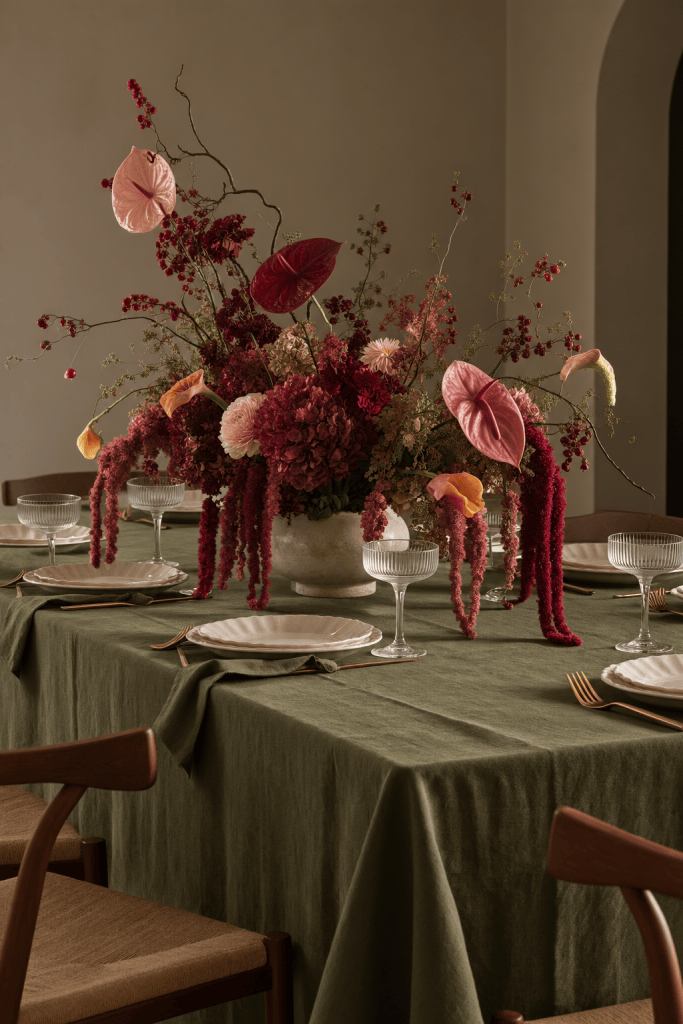
Flowers are always an easy starting point. For Thanksgiving, I like arrangements that feel slightly loose rather than too formal. Branches, berries, autumn leaves and seasonal greenery can look just as beautiful as traditional flowers.
Make sure you keep your color palette in mind when choosing them. If the rest of the table is already quite colorful, greenery or simple white flowers might be enough. If your tableware is neutral, the centerpiece can bring in more color.
One practical thing to remember: keep arrangements low enough that people can still see and talk to each other across the table.
Step 5: Add seasonal details
It’s time to start experimenting.
Natural decorations often work best for Thanksgiving because they already fit the season. Small pumpkins, gourds, pears, apples, walnuts, pinecones or branches can all become part of the table.
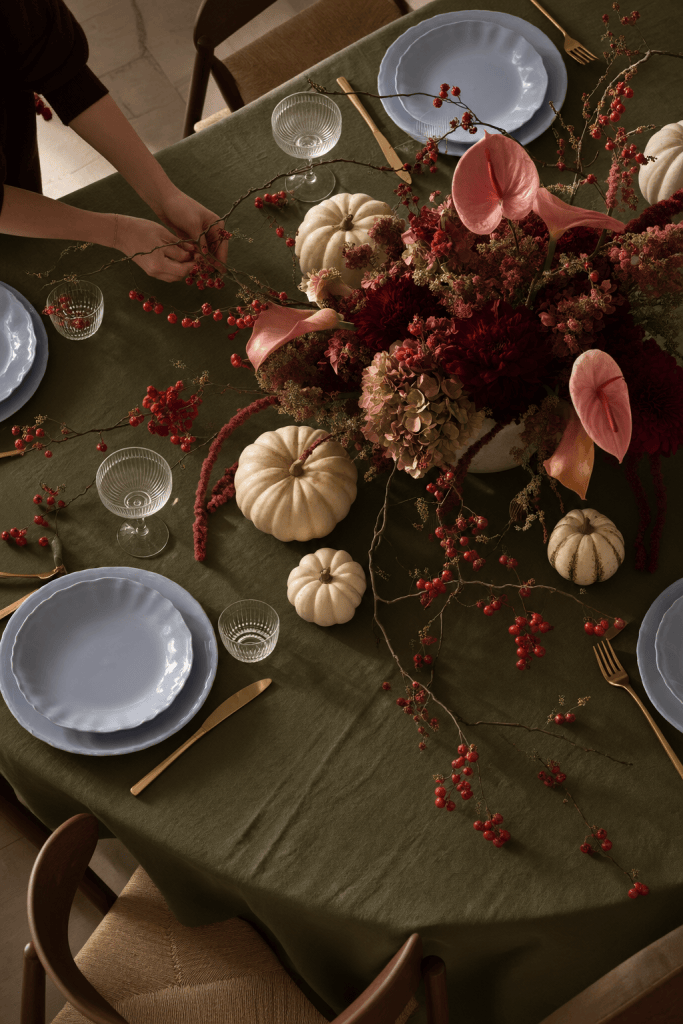
You can group a few pumpkins together in the center, place a pear on each plate or scatter nuts and leaves around candleholders.
The nice thing is that these details do not have to be expensive. You may already have half of them in your kitchen or garden.
And again, you do not need a huge amount. A few repeated elements usually look more considered than lots of completely different decorations.
Step 6: Light the candles
Candles will change the entire atmosphere of a table.
You can keep things simple with smaller candles directly on the table or use tall candleholders for something more dramatic.
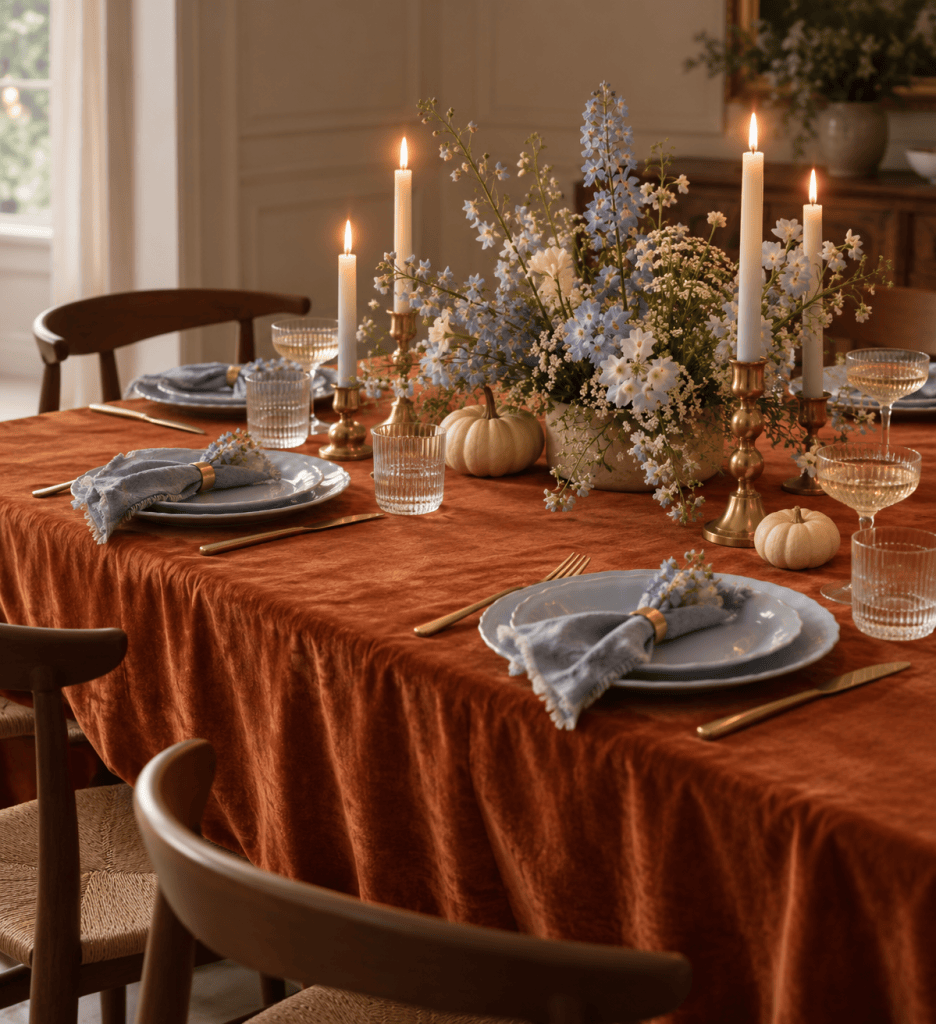
Mixing different heights works really well because it gives the table more dimension. A few taper candles combined with smaller votives or tea lights can make the setting feel warm without taking over the table.
If you are using colored candles, this is another place to repeat your palette. Dark red, green, brown, cream or even pale blue can look beautiful depending on the rest of the setting.
Step 7: Play with height and texture
Once the main pieces are on the table, step back and look at the overall shape.
If everything is sitting at the same height, the table can feel a little flat. This is where candleholders, flowers, bowls and serving dishes help.
You can also mix textures: soft linen next to shiny cutlery, smooth porcelain next to rough branches, clear glass next to heavier ceramics.
These contrasts are what make a table feel layered, even if you are working with a very simple color palette.
Step 8: Add something personal to each plate
This is where you add your personal touch.
You could add handwritten name cards, tie a small branch of rosemary around each napkin or place a mini pumpkin at every setting. Even something as simple as folding the napkin differently can make each place feel finished.
I also like the idea of using small mismatched objects collected over time instead of buying everything especially for one dinner.
And that’s it — a beautifully balanced table, ready to gather around and enjoy with friends and family.


Leave a comment